Label Editor
The Label editor is a single user interface for creating Label, action Label and using them on objects. It also provides an intuitive way to see where all your Label are being used in a simulation.
- Create
- Object
- Actions
- Controls
1. Creating a Label
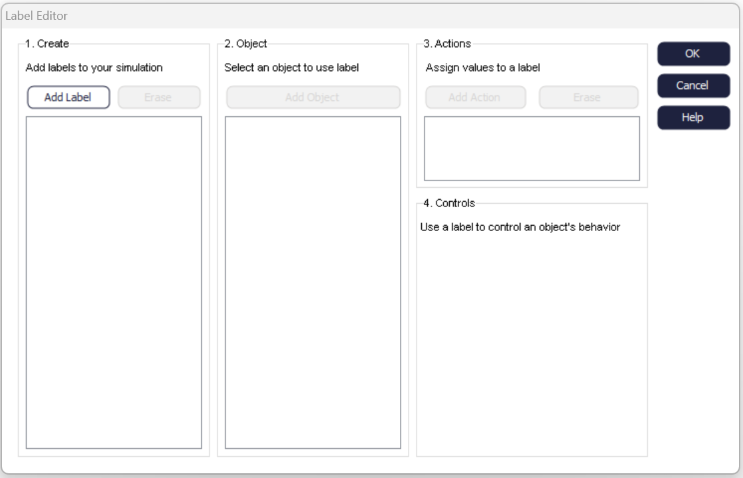
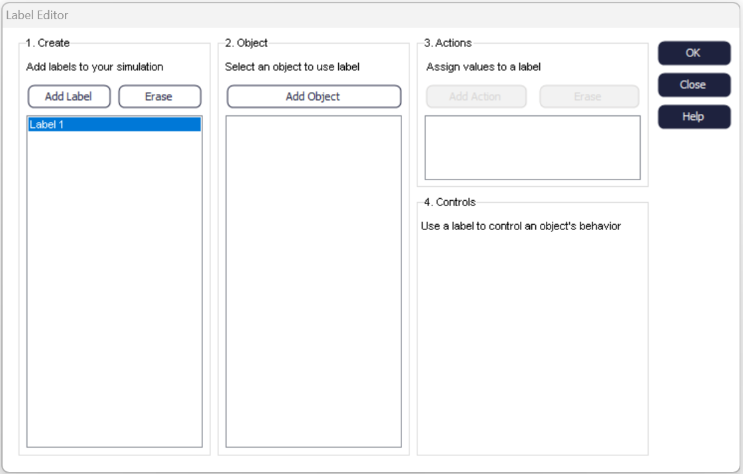
To create a Label, select the Add Label button under the create section, upon selecting you will be presented with a dialog to enter the Label name and chose the Label type. For more information on Label types see Labels. When you have added the Label it will appear in a list under the 'Create' section.
2. Adding an Object
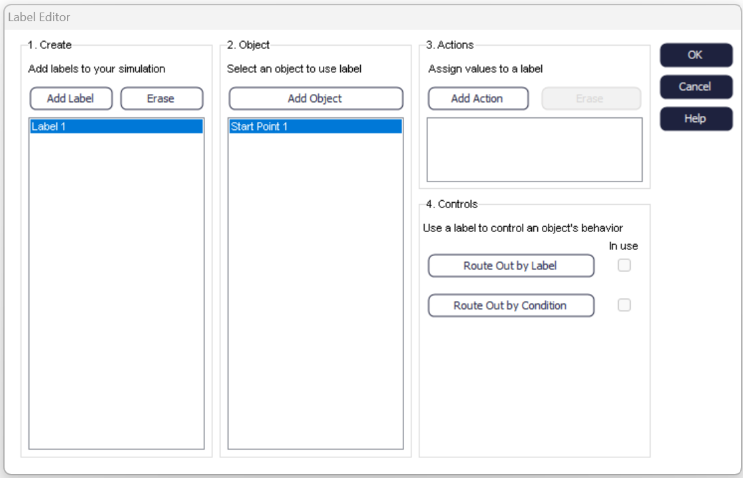
Once you have created a Label, the 'Add Object' button will become enabled. Selecting "Add Object' will open a dialog containing a list of all objects in the simulation. Select the object you wish to do something with and press 'OK'. Once selected the object will appear under the 'Objects' section.
3. Action a Label
After adding an object you are now able to add a Label Action, actions allow you add a value to a Label which you can then use to control various parameters in a simulation. For more information see Actions. To add an Action select the 'Add Action' button, this will open the Action dialog for the object selected under the 'Object' section and will pre-populate the list with the Label selected under the 'Labels' section. Select which action you wish to perform on the Label and click 'OK', all actions associated with that object and Label will appear in a list in under the "Action" section.
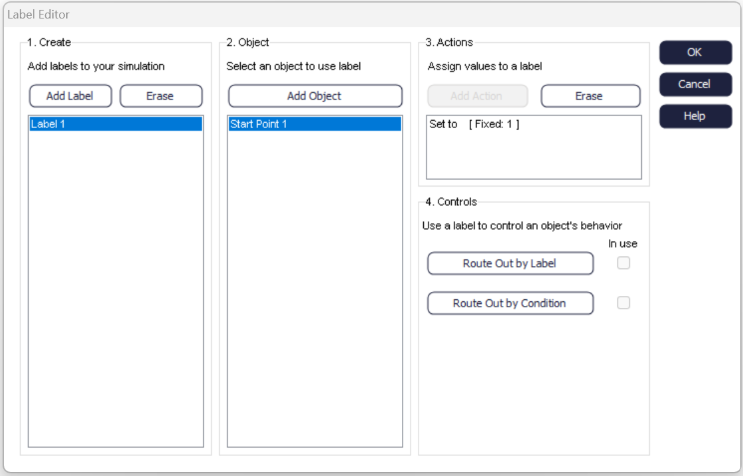
4. Adding a Control
It is important to note that you can add either Label 'Actions' or 'Controls' to an object, you are not required to do both. A Label control is a way in which an object's behavior is controlled using a Label value. For more information, go to Using Labels.
- Start Point
-
- Route Out By Label - controls the routing based on a Label value.
- Route Out By Condition - controls the routing based on a condition, the condition can be based on a Label value.
- Queue
-
- Shelf Life - control how long a Work Item can usefully stay in a Queue based on a Label value.
- Prioritize - control the order of Work Items in a Queue based on a Label value.
- Segregate Results - control how results are segregated by a Label value.
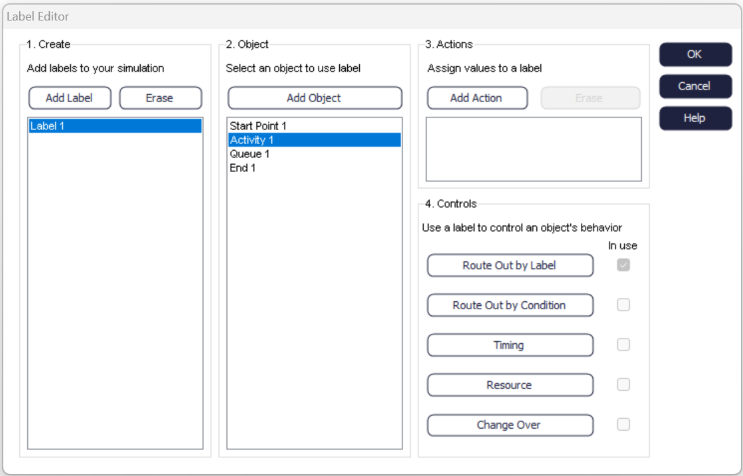
- Activity
-
- Route Out By Label - controls the routing based on a Label value.
- Route Out By Condition - controls the routing based on a condition, the condition can be based on a Label value.
- Timing By Label - control the process time of an Activity based on a Label value.
- Resource By Label - control the Resource required by a Label value.
- Conveyors
-
- Route Out By Label - controls the routing based on a Label value.
- Route Out By Condition - controls the routing based on a condition, the condition can be based on a Label value.
To add a control, select the relevant button or checkbox, the Label highlighted under 'Label' section will be automatically added for your use in the control. Please reference the guides above for further information on how to use each control. Once a control has been added, the 'In Use' checkbox will be checked, in the image below it shows that 'Activity 1' is using 'Route Out By Label'.