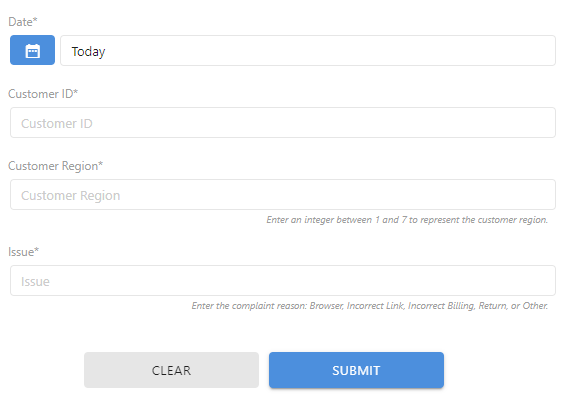
In the previous section, the customer representative created a standard table with the required fields. However, because the entire customer service team needs to standardize the data collection, the team decides to create a form that all team members can access.
You can use the Form Tool to design customized forms that have user-specific instructions to minimize data entry errors. The data entries are then stored in the corresponding data table.
For this example, create a form to collect the date, the customer ID, the customer region, and the type of issue. Follow these instructions to create a new form for manual data entry.
- Go the Navigation pane. Under Forms, select Add New Form.
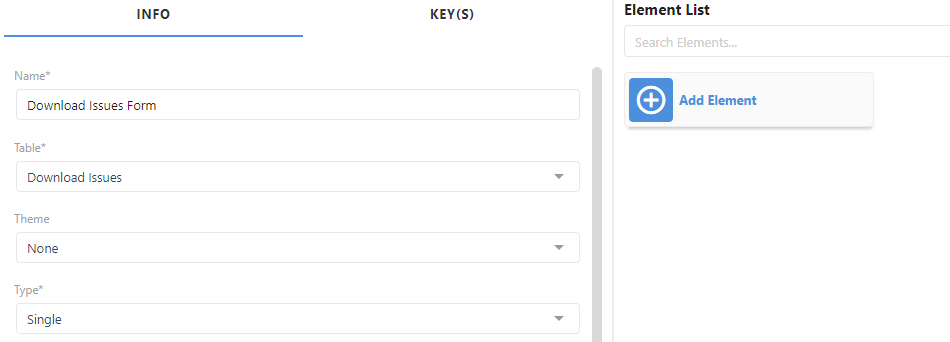
- On the Info tab, enter the following:
- Under Name, enter Download Issues Form.
- Under Table, select Download Issues. Minitab Connect populates this field when you generate a form from a table.
- Under Type, select Single.
- Under Type, select External.
- Select Add Element. For this example, add elements for date, customer ID, customer region, and the type of issue.
- Under Type, select Date. Under Options, select Required.
- Select Add to save the Date element.
- Select Add Element. Under Type, select Customer ID. Under Options, select Required.
- Select Add to save the Customer ID element.
- Select Add Element. Under Type, select Customer Region and enter the following:
- Under Help Text, enter Enter an integer between 1 and 7 to represent the customer region. This instruction will display on the form.
- Under Options, select Required.
- Select Add to save the Customer Region element.
- Select Add Element. Under Type, select Issue and enter the following:
- Under Help Text, enter Enter the complaint reason: Browser, Incorrect Billing, Incorrect Link, Return, or Other. This instruction will display on the form.
- Under Options, select Required.
- Select Add to save the Issue element.
- Select Save
 to save the form.
Tip
Another way to create a new form is from the Flow Tool ![]() . Under the Inputs tab, select the plus button
. Under the Inputs tab, select the plus button ![]() next to Forms to add a new form. You can follow the same steps as above.
next to Forms to add a new form. You can follow the same steps as above.

Use the Form Tool to enter data.

Use the Form (Base) to update your form.
