After a view is created, you can export the data from this view to share with others. In this example, a marketing analyst sends an email of the daily summary to the marketing team. Follow these instructions to create an export of the data view.
-
From the Prep tool
 ,
select the Export button
  .
.
-
In the Export Data dialog box, enter the following:
- Under Export, select New Export.
- Under Name, enter Daily Genre Export.
- Under View, select Daily Genre Summary to select the view to export.
-
Under Delivery, select Email - Attachment.
You can also send an email as an inline attachment.
Note
When you send information from Connect by email, it is recommended that you select an email encryption option from the PGP / GPG Encryption drop down.
-
Open the Delivery tab and enter the following:
-
Under Email To, enter the email addresses, separated by commas, to the
recipients of the export.
Select the envelope button
 to populate the
field with your email address.
- Under Email Subject, enter the subject header for the email.
-
Under Email To, enter the email addresses, separated by commas, to the
recipients of the export.
Select the envelope button
- Select Save.
- Select Run.
You now have a saved export called Daily Genre Export that you can use throughout the Minitab Connect platform to export the summary data. You can create other exports at any time.

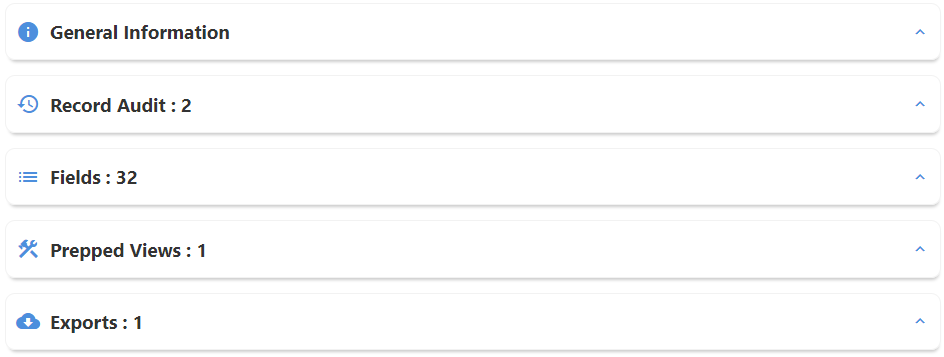
Currently, this table has 32 fields, one prepped view, and one export. Expand each section to see more details.
