About custom templates
- Preconfigure project templates to add organization-specific phases and provide a consistent structure for teams across multiple projects.
- Create common layouts for frequently used diagrams such as Process Maps, Brainstorming tools, or Value Stream Maps.
The Workspace web app saves custom templates as .wstx files and automatically displays them alongside the standard templates in your active repository. Custom templates appear in the Tools menu, in assigned categories, and in template search results.
Requirements
- You must be signed in to an online repository to create, save, or use custom templates in the Workspace web app.
- The Workspace web app only supports custom templates that are saved as .wstx files. To use a custom template that was created in the Workspace desktop app, open the .qctx file and save it as a .wstx file.
Save a custom project template
Use a custom project template to define how future projects are implemented. A project template includes:
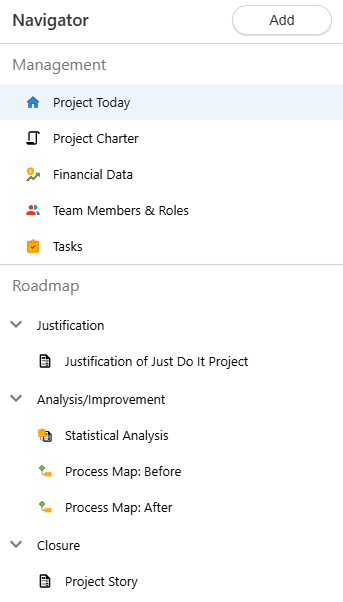
- Navigator settings
- Management and Roadmap tools
- Phases and folders
- Related links and web links
- Startup tool
- Data definitions and data values, including data tables
To save a project as a template
- Sign in to the Minitab Solution Center and select Minitab Workspace.
- From the Workspace landing page, open a project to use as a starting point.
- Modify the project to suit your needs. For example:
- Add, delete, and move phases, folders, and tools.
- Collapse or expand phases and folders.
- Enter default data in forms and tables.
- Modify data definitions.
- Set a startup tool.
- From the Workspace menu,
select Advanced
 .
. - Select Save Project as Template. You must be signed into a repository to select this option.
- Enter a new name for the template. You can also change the description.
- Select Save. Workspace saves the .wstx file to the location defined in the Settings of the active repository.
Note
After you save a template, there may be a slight delay before you can access it from the Navigator or the Workspace landing page. If the template does not appear right away, try refreshing the browser.
Save a custom tool template
You can save any of the following tool types as a custom template.
 Brainstorm diagrams
 Process
Maps
Process
Maps Value Stream
Maps
Value Stream
Maps Forms*
(user-entered data only)
Forms*
(user-entered data only)
*For custom forms involving a redesign, contact Minitab Customer Success.
Note
Monte Carlo Simulations cannot be saved as custom templates.
To save a tool as a template
- Sign in to the Minitab Solution Center and select Minitab Workspace.
- From the Workspace landing page, open a tool to use as a starting point.
- Modify the tool to suit your needs. For example:
- Design a new visual diagram using a process map as the basis.
- Define a new healthcare-specific "5P" fishbone with default nodes of People, Procedures, Policies, Place, and Patients.
- Fill out the PFMEA with prepopulated data so that project leaders have a more advanced starting point when using a PFMEA in their own projects.
- From the Workspace menu,
select Advanced
.
- Select Save Open Tool as Template. You must be signed into a repository to select this option.
- Enter a new name for the template. You can also change the description.
- Optionally, assign the template to any number of categories.
- Select Save. Workspace saves the .wstx file to the location defined in the Settings of the active repository.
Note
After you save a template, there may be a slight delay before you can access it from the Navigator or the Workspace landing page. If the template does not appear right away, try refreshing the browser.
Use a custom template
Workspace detects custom templates stored in your active repository. Custom templates appear together with standard templates when you do any of the following tasks:
- Start a new project
- Start a tools-only project
- Add a tool to an existing project
- View all templates from the Workspace landing page
Share custom templates
Note
To limit access to the custom template, adjust permissions in the repository.
- Save the .wstx file to your organization's shared storage repository, such as Microsoft OneDrive® or Google Drive™.
- Do either of the following.
- Move the file to a location in the repository that other users have access to.
- Navigate to the current file location and explicitly share it with specific users.
Note
After you share a template, there may be a slight delay before specified users can access it. If the template does not appear right away, have users refresh their browsers.