Add affinities, siblings, and children
Note
In the web app: To add siblings and
children in the web app,
select the node, then select Add Sibling
![]() or Add Child
or Add Child
![]() .
.
- Select a node on the diagram.
-
Right-click and then add one of the following options.
- Affinity: Adds a node to the main branch of the diagram. To quickly add a node to the main branch, double-click anywhere on the diagram.
- Sibling: Adds a node to the same level as the selected node.
- Child: Adds a node to the level below the selected node. The selected node becomes the parent of the new node.
- To prioritize an affinity, a cause, an idea, or an input, select it, then choose .
Tip
- To quickly add affinities to a diagram, select a node, then press the Insert key. To add siblings, press the Enter key.
- To add a symbol, such as the sigma or a registered trademark to a diagram, copy the symbol from the Windows Character Map, then paste it in the diagram.
Move affinities, siblings, and children
When you move affinities, siblings, and children to different nodes, the target node becomes the parent.
- To move an affinity, sibling, or a child, select it, then drag it to a different node. When you move a node that has sublevels, the sublevels move with it.
- In the desktop app, to move a node to the other side of the diagram, select the node and choose .
- In the web app, select a node, then a select the option to Move Up, Move Down, Move Left, or Move Right.
Change the layout of the diagram
Note
In the web app: To change the layout of the diagram, select Display in the task pane. Under Brainstorm, select the type of brainstorm to display. For more information about brainstorm types, go to Brainstorming.
- Choose .
- From Type, choose a layout. Right Tree or Left Tree converts any layout to a right-facing or left-facing idea map.
Display levels vertically on a CT tree
On a CT tree only, you can choose the level at which nodes begin to display vertically.
Note
In the web app: To change the levels vertically on a CT tree, select Display in the task pane. Under Brainstorm, add or subtract Outline Levels.
- On a CT tree, choose .
-
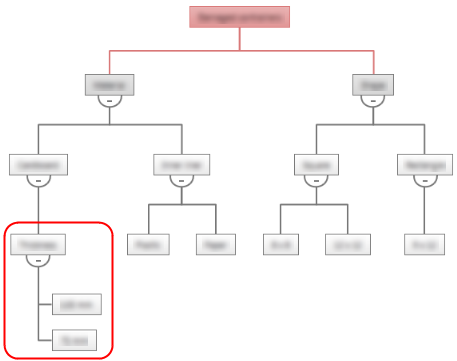
From Outline Levels, choose a level. In this CT tree example,
the nodes start to display vertically at the fourth level.
Move nodes on a mind map
Note
In the web app: To move nodes on a mind map, select the
child node to move, then select Rotate Clockwise
![]() or Rotate Counterclockwise
or Rotate Counterclockwise
![]() .
.
- Choose to move the selected node clockwise around the parent node.
- Choose to move the selected node counterclockwise around the parent node.