Solution Space
Create a Solution Space
Create a Solution Space to visually organize the various Minitab Solution Center files and other artifacts related to your initiative, including images, PDFs, and files created in other applications. You can add files, add steps to the map, attach files to steps, and connect steps to indicate anticipated or actual workflow.
- From the Minitab Solution Center Home page, select New Solution Space.
- Select Add
to add your first file. You can add either an existing file or a new Minitab Solution Center file.
- Add an existing file
- Select Existing File, select a repository, and then select a file. Minitab Solution Center adds the file to the File View.
- Add a new Minitab Solution Center file
- When you add a new Minitab Solution Center file, Minitab Solution Center creates the file, opens it in a new session to the right of your Solution Space so you can begin working in it, and automatically adds it to your Solution Space.
- File View

- In this view, you can add files, sort them by name or type, filter by
type, and search for specific files.
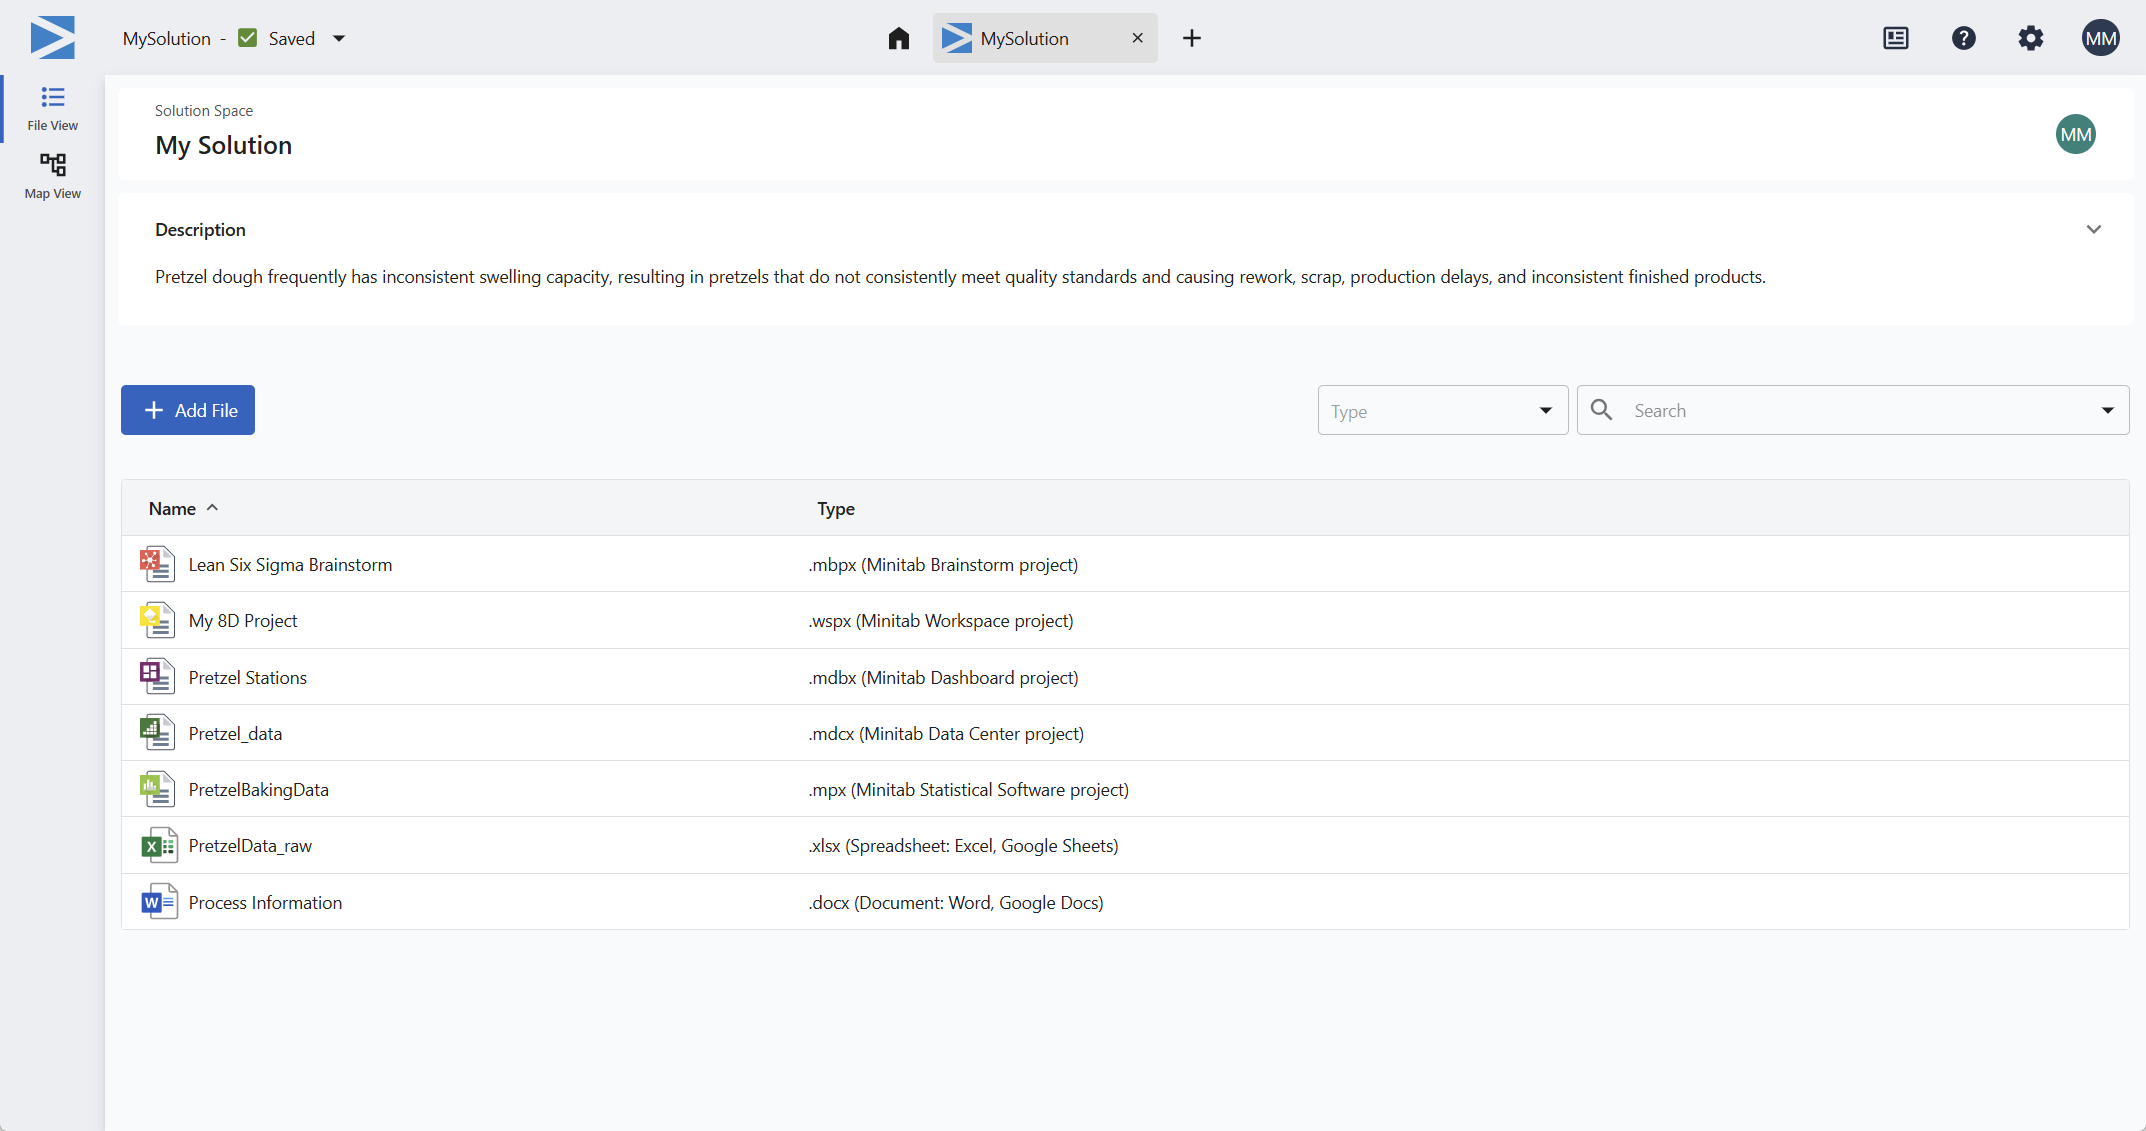
- Map View

- In this view, you can add steps and arrange them sequentially. You can
add files and descriptions to each step to provide context for team
members and stakeholders.
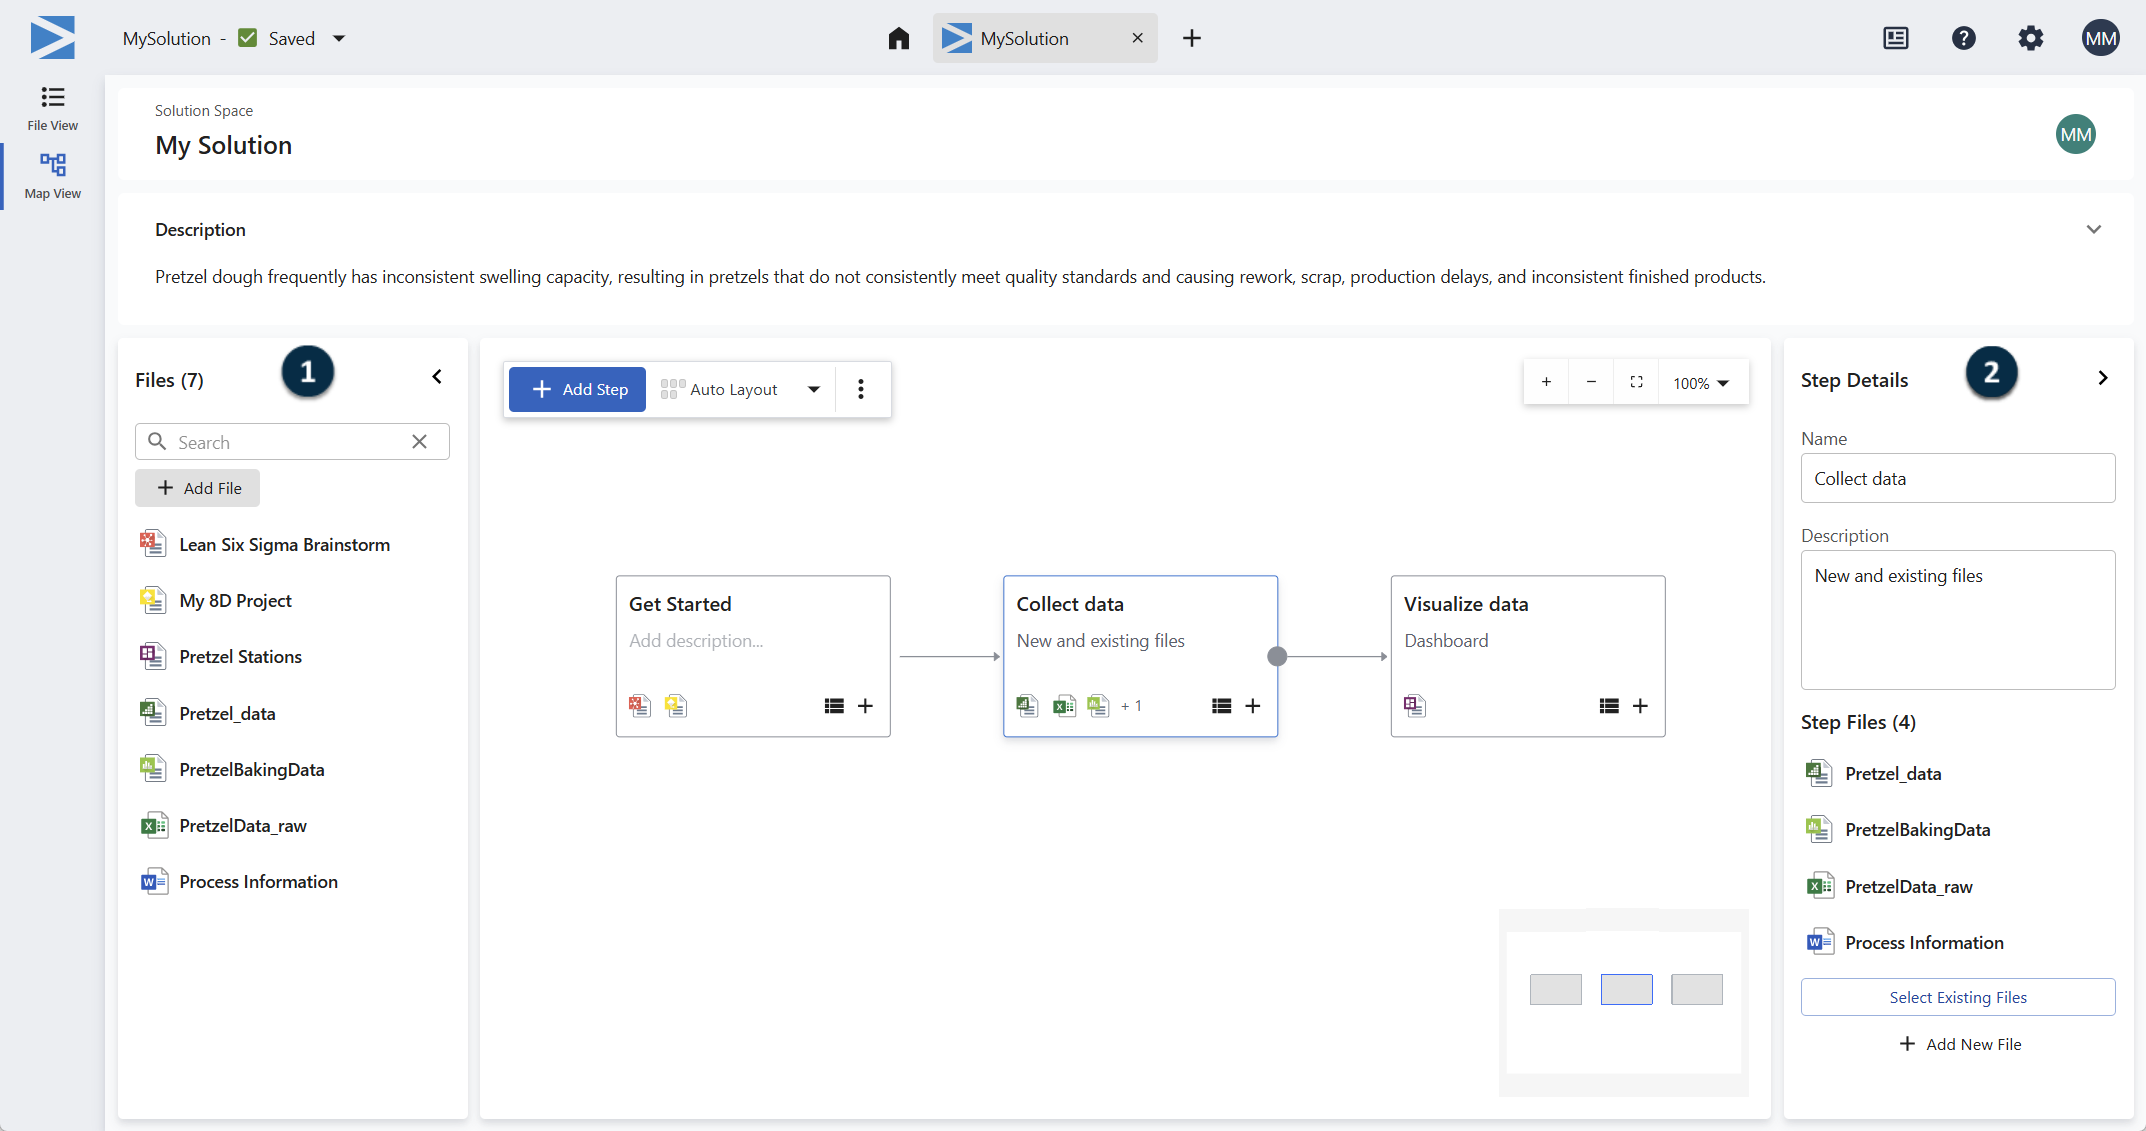
From the Files panel (1), you can add files to the Solution Space and drag files to steps. From the Step Details panel (2), you can edit the selected step.
Add files to a Solution Space
When you add a file to your Solution Space, you create a link to the file's current location. You can create a link to the same file from multiple Solution Space files.
- In File View, select Add.
- In Map View, select a step, then select the add
 button.
 - In Map View, select a step, open the Files panel, and select Add File.
- In Map View, select a step, open the Step Details panel, and select Add New File.
Remove files from a Solution Space
When you remove a file from the Solution Space, you remove the link from the Solution Space and from every step where it is attached. The steps are not deleted.
- In File View, right-click the file, then select Remove from Solution Space.
- In Map View, open the Files panel, right-click the file, then select Remove from Solution Space.
Add a step to the map
A step represents a unit of work. You can attach files to steps as needed. When you add a file to a step, it is automatically added to the Solution Space.
- Select Map View
in the Solution Space.
- Select Add Step. A new step is added with the name Untitled Step. You can move the step, rename it, add a description, and attach files.
- Repeat to add additional steps as needed.
To remove a step from the map, select the step and press the Delete key.
Attach a file to a step
Attach one or more files to a step to show which artifacts are associated with that unit of work. The same file can also be attached to more than one step.
- Select the step.
- Do any of the following:
- To attach a new file or an existing file from your repository, select
the plus button inside the step. When you
select a file for a step, the file is automatically added to the
Solution Space.
- To attach a file that is already in the Solution Space, expand the Files panel in the map, then drag the file to the step. To attach multiple files, hold Shift or Ctrl to select the files, then drag them to the step.
- To create a step and attach a file at the same time, drag the file from the Files panel to the map. If you drag multiple files to the map, the selected files are attached to a single step.
- To attach a new file or an existing file from your repository, select
the plus
- Repeat to attach additional files as needed.
Remove a file from a step
When you remove a file from a step, the file is not deleted from the Solution Space. However, when you remove a file from the Solution Space, the file is removed from every step where it is attached. The steps are not deleted.
- Select the step.
- Select Show Step Files
 .
. - Select the file, then select Remove from Step
 .
.
You can also remove a file from a step in the Step Details panel.
Connect steps
A connector indicates that one step precedes another. Connectors show sequence only. They do not enforce dependencies.
- Select the step where the connector starts.
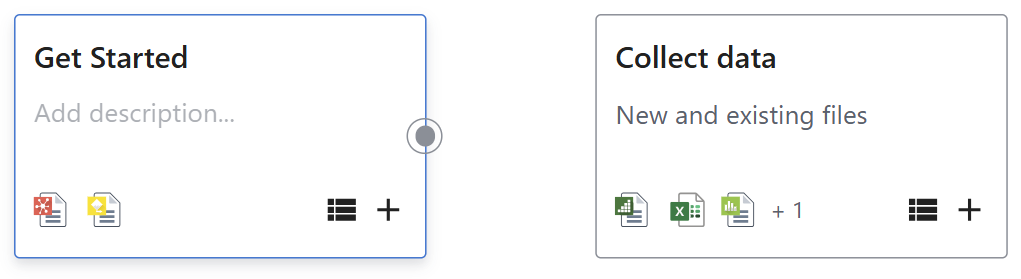
- Select the gray dot that appears on the right side of the step, then drag it to
the step where the connector ends.
 The connector leaves the right side of the first step and enters the left side of the second step. Minitab Solution Center routes the connector automatically.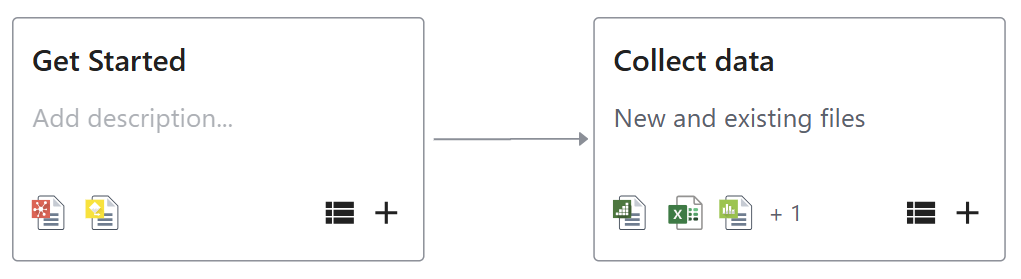
Note
You can connect one step to multiple steps. You cannot connect a step to itself or add a duplicate connector in the same direction between the same two steps.
To reconnect a connector, select the connector. Then select either end of the connector and drag it to a different step.
To delete a connector, select the connector, then press the Delete key.
Arrange the map
You can drag a selected step to a new location on the map. To select multiple steps, hold Shift or Ctrl while you select the steps, or drag the pointer around a group of steps. When multiple steps are selected, drag any selected step to move the group. Connectors remain attached and are rerouted after the move is complete.
To view areas of the map beyond the visible canvas, use Pan Window. You can also right-click and drag the canvas, or hold the Spacebar and drag the canvas.
You can also use Auto Layout to arrange steps automatically. Minitab Solution Center attempts to reduce overlap, align steps horizontally and vertically, and distribute steps evenly. Auto Layout changes only the position of the steps, not their connections.
- Next to Auto Layout, select
 , then select an option. You can choose
to apply the setting to a set of selected steps or the entire map.
, then select an option. You can choose
to apply the setting to a set of selected steps or the entire map. - Select Auto Layout.
Share your Solution Space
When you share your Solution Space, multiple users can work in the same map in real time.
- Next to the name of your Solution Space, select
 , then select Share File.
 - Add the people who need access to the Solution Space or any of its resources.
- Select permissions. If you share with multiple people, your selection applies to the entire group. If different people require different permissions, share the Solution Space twice: once with viewers and once with editors.
- Choose the files to share. You can share only the Solution Space, or you can share the Solution Space and any of its related resources. To select specific resources, select Review shared files.
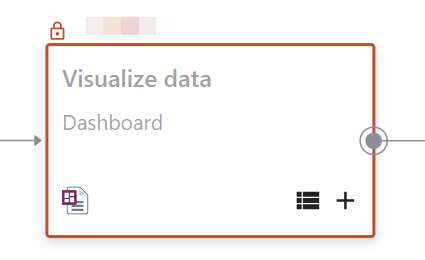
Visual indicator
A visual indicator appears on the step.
Depending on the action in progress, you might still be able to view the step, open an attached file, or make a different change. For example, one user can edit a step description while another user adds a connector or attaches an artifact. Actions that conflict with another user's current action might be temporarily unavailable.
