Default Report
The default report appears when a user opens the dashboard for the first time. The default report continues to appear until the user selects their own default report.
Fiscal Year
The month that starts the fiscal year is used in formulas to calculate the financial data in dashboard reports and forms.
Default to Include Projects in Dashboard
Adjust this system setting to determine whether the Include in dashboard option, when available, is checked or unchecked by default when a user saves a project for the first time. When a data architect changes this system setting, the change takes effect the next time you open the desktop app. Additionally, the system setting applies only to new non-workflow projects, not existing ones.
- When workflow is ON
- The Include in dashboard option is available only for non-workflow projects during the initial save and only to data architects, data managers, and administrators. (This option is never available for workflow projects because workflow projects are always included in the dashboard.)
- When workflow is OFF
- The Include in dashboard option is available for all projects during the initial save, but only to data architects, data managers, administrators, and project owners.
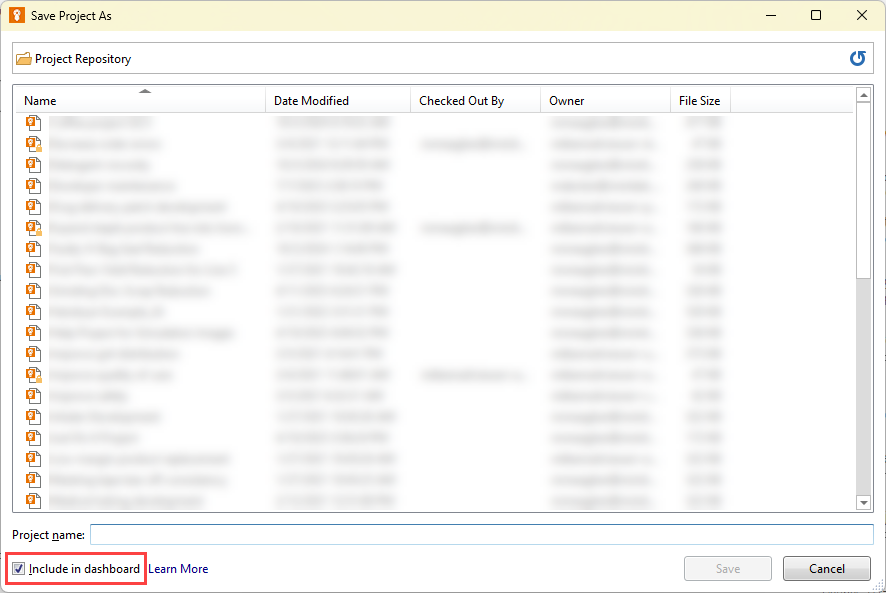
Include by default
The option is checked.
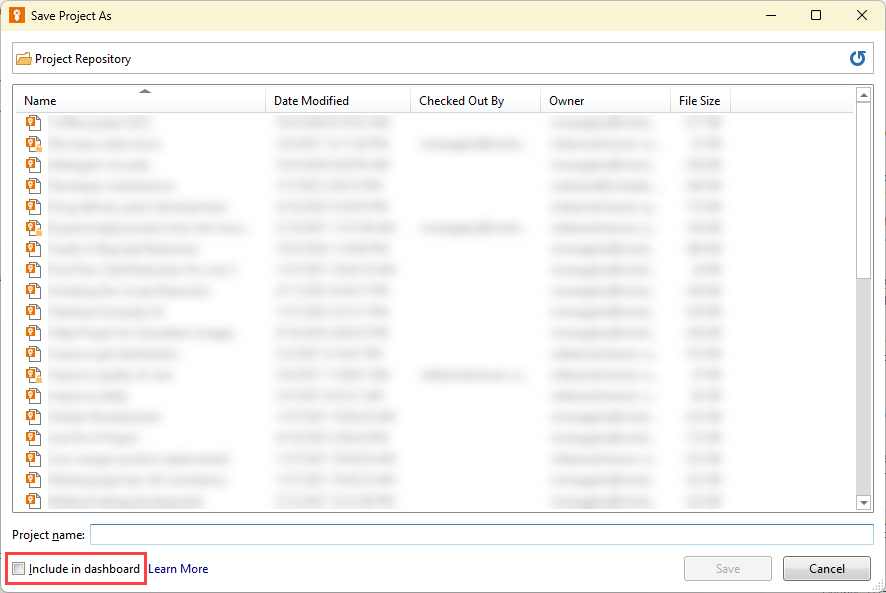
Exclude by default
The option is unchecked.
Allow Non-Workflow Projects
Adjust this system setting to determine whether users can create non-workflow projects. By default, when workflow is on, users can select from a list of non-workflow project templates. To prevent users from creating non-workflow projects when workflow is on, data architects can hide non-workflow project templates, which forces all new projects through the established workflow approval process.
When a data architect changes this system setting, the change the change takes effect the next time you open the desktop app. Additionally, when workflow is on, this system setting applies only to non-workflow project templates, not tools-only project templates. When workflow is off, the system setting has no affect.
The Allow Non-Workflow Projects system setting affects the user’s view of the New tab in the desktop app; however, the setting does not affect the data architect’s view. Data architects always see the non-workflow project templates so they can create non-workflow projects at any time.
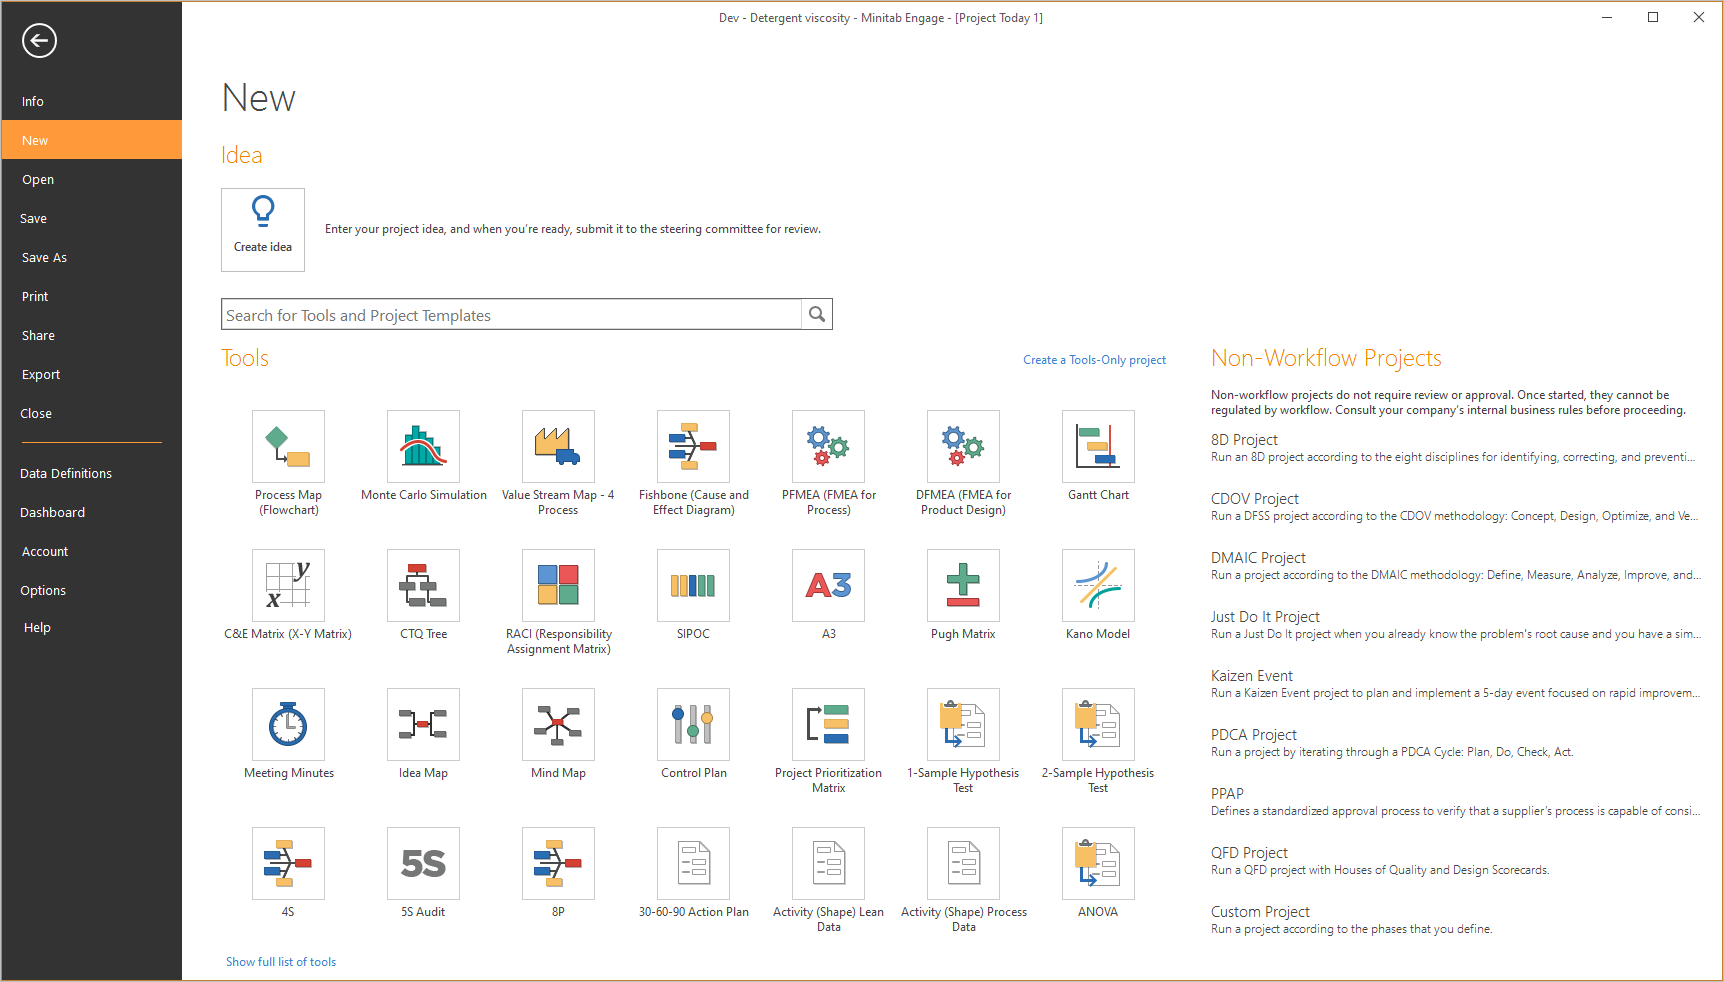
Allow
Non-workflow project templates are shown when a user chooses . Tools-only project templates (left) are always shown.
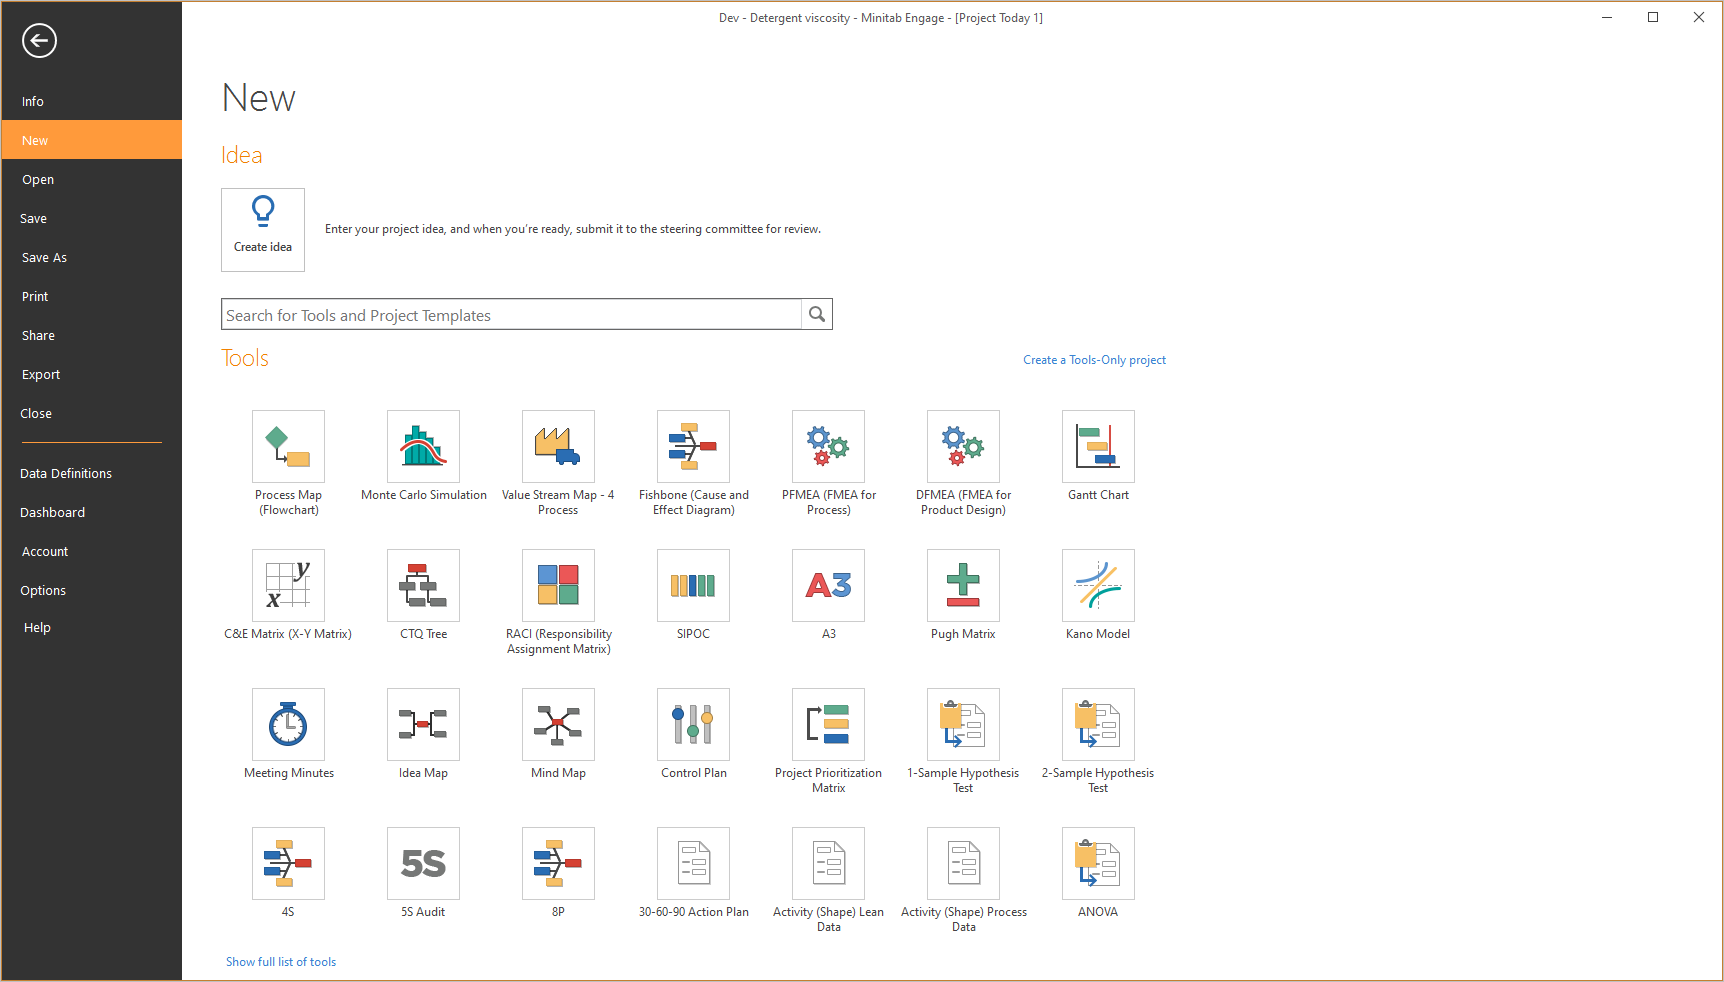
Disallow
Non-workflow project templates are hidden when a user chooses . Tools-only project templates (left) are always shown.
API
- Pull dashboard data from Engage.
- Send projects or ideas to Engage.
- Create a token.
- Configure your external system or application to use the token. Each system or application is different, so consult its documentation for detailed instructions.
Note
Only data architects can create, edit, and revoke API tokens. However, anyone with a token has access to your Engage data. Therefore, treat API tokens like you would a password.
Create a token
All data architects receive an email notification when a token is created.
- Select Settings.
- In the API section under Available Operations, determine the operation to include in the token. A token can include more than one
operation.
Note
Make a note of or copy each Endpoint URL as you will need them, along with the token, to complete the set up.
- Under Tokens, select Add New Token.
- Enter a unique name for the token.
- Set an expiration date for the token.
Choose a date between tomorrow and 1 year from today.
Note
By default, the token will expire 1 year from the date it is created. All data architects receive an email notification 7 days prior to the token's expiration date and again after the token expires.
- Under Permissions, select either or both options.
- Read dashboard data
- Pulls dashboard data from Engage.
- Create files
- Sends new project ideas or non-workflows projects to Engage. For ideas, only
data fields that are shared to controls on an idea form may be specified in the
Create Filerequest. For non-workflow projects, any valid data field may be specified in theCreate Filerequest. To see the list of valid data fields and category names, select Download Data Field Reference.
- Select Copy Password.
Note
This is your only chance to copy the token, which you will need to complete the setup, along with the endpoint URLs that you noted earlier.
- With your endpoint URLs and the token you generated, go to Use the Engage API for detailed information about the expected request and response structures used by the Engage API.
Edit a token
- Select Settings.
- In the API section under Tokens, in the row of the token to edit, select Edit Token
 .
. - In the Edit Token dialog, change the token name, expiration date, or permissions.
Revoke a token
Note
Revoking a token cannot be undone.
- Select Settings.
- In the API section, under Tokens, in the row of the token to revoke, select Revoke Token
 .
.